
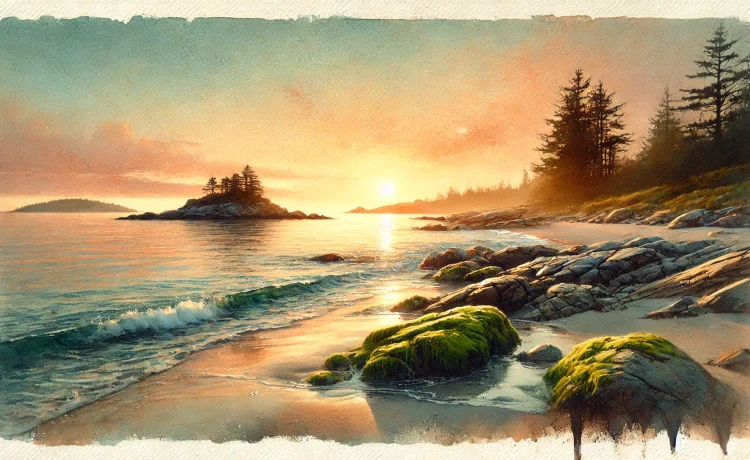
“Echoes of Dawn” by Harrison Lamoureux
We have lots of readers and viewers, and artists love how Harrison Lamoureux achieves those stunning light effects in watercolor paintings—like the warm sunrise glow in “Echoes of Dawn” or the ethereal morning mist in “Light Through the Haze”—it’s a blend of planning, layering, and letting go. I asked Harrison if he would kindly share how he created his amazing paintings. And he said yes. Here’s a step-by-step technique guide you can follow: watercolor do what it does best: flow.
Here’s a step-by-step technique guide you can follow:
🔶 1. Plan the Light Source
Where is the light coming from?
In both paintings, the sun is a focal point. Before you touch the paper, lightly sketch:
-
the horizon line
-
the sun or glow area
-
large silhouettes (trees, rocks, hills)
Leave the lightest part of your paper untouched—this will serve as the light source or “glow” (usually pure white paper).
💡 Tip: Watercolor is transparent. Your brightest light will always be your untouched paper.
🔶 2. Wet-on-Wet Sky Glow
To achieve those soft glowing skies, use the wet-on-wet technique:
-
Lightly wet the sky area with clean water.
-
Drop in warm colors (like yellow, rose, peach) near the sun.
-
Add cooler tones (blues, purples) further from the light source.
-
Let the colors bleed and blend naturally for soft transitions.
💡 Tilt the paper slightly to help paint radiate outward from the light source.
🔶 3. Preserve the Whites
Use masking fluid or carefully paint around areas where you want to keep pure light (e.g. highlights on water, light filtering through trees).
Alternatively, lift paint while it’s still damp with a dry brush, sponge, or tissue to create:
-
sunbeams
-
reflections
-
mist or haze
💡 In “Light Through the Haze,” the mist is created by lifting pigment and blending edges while damp.
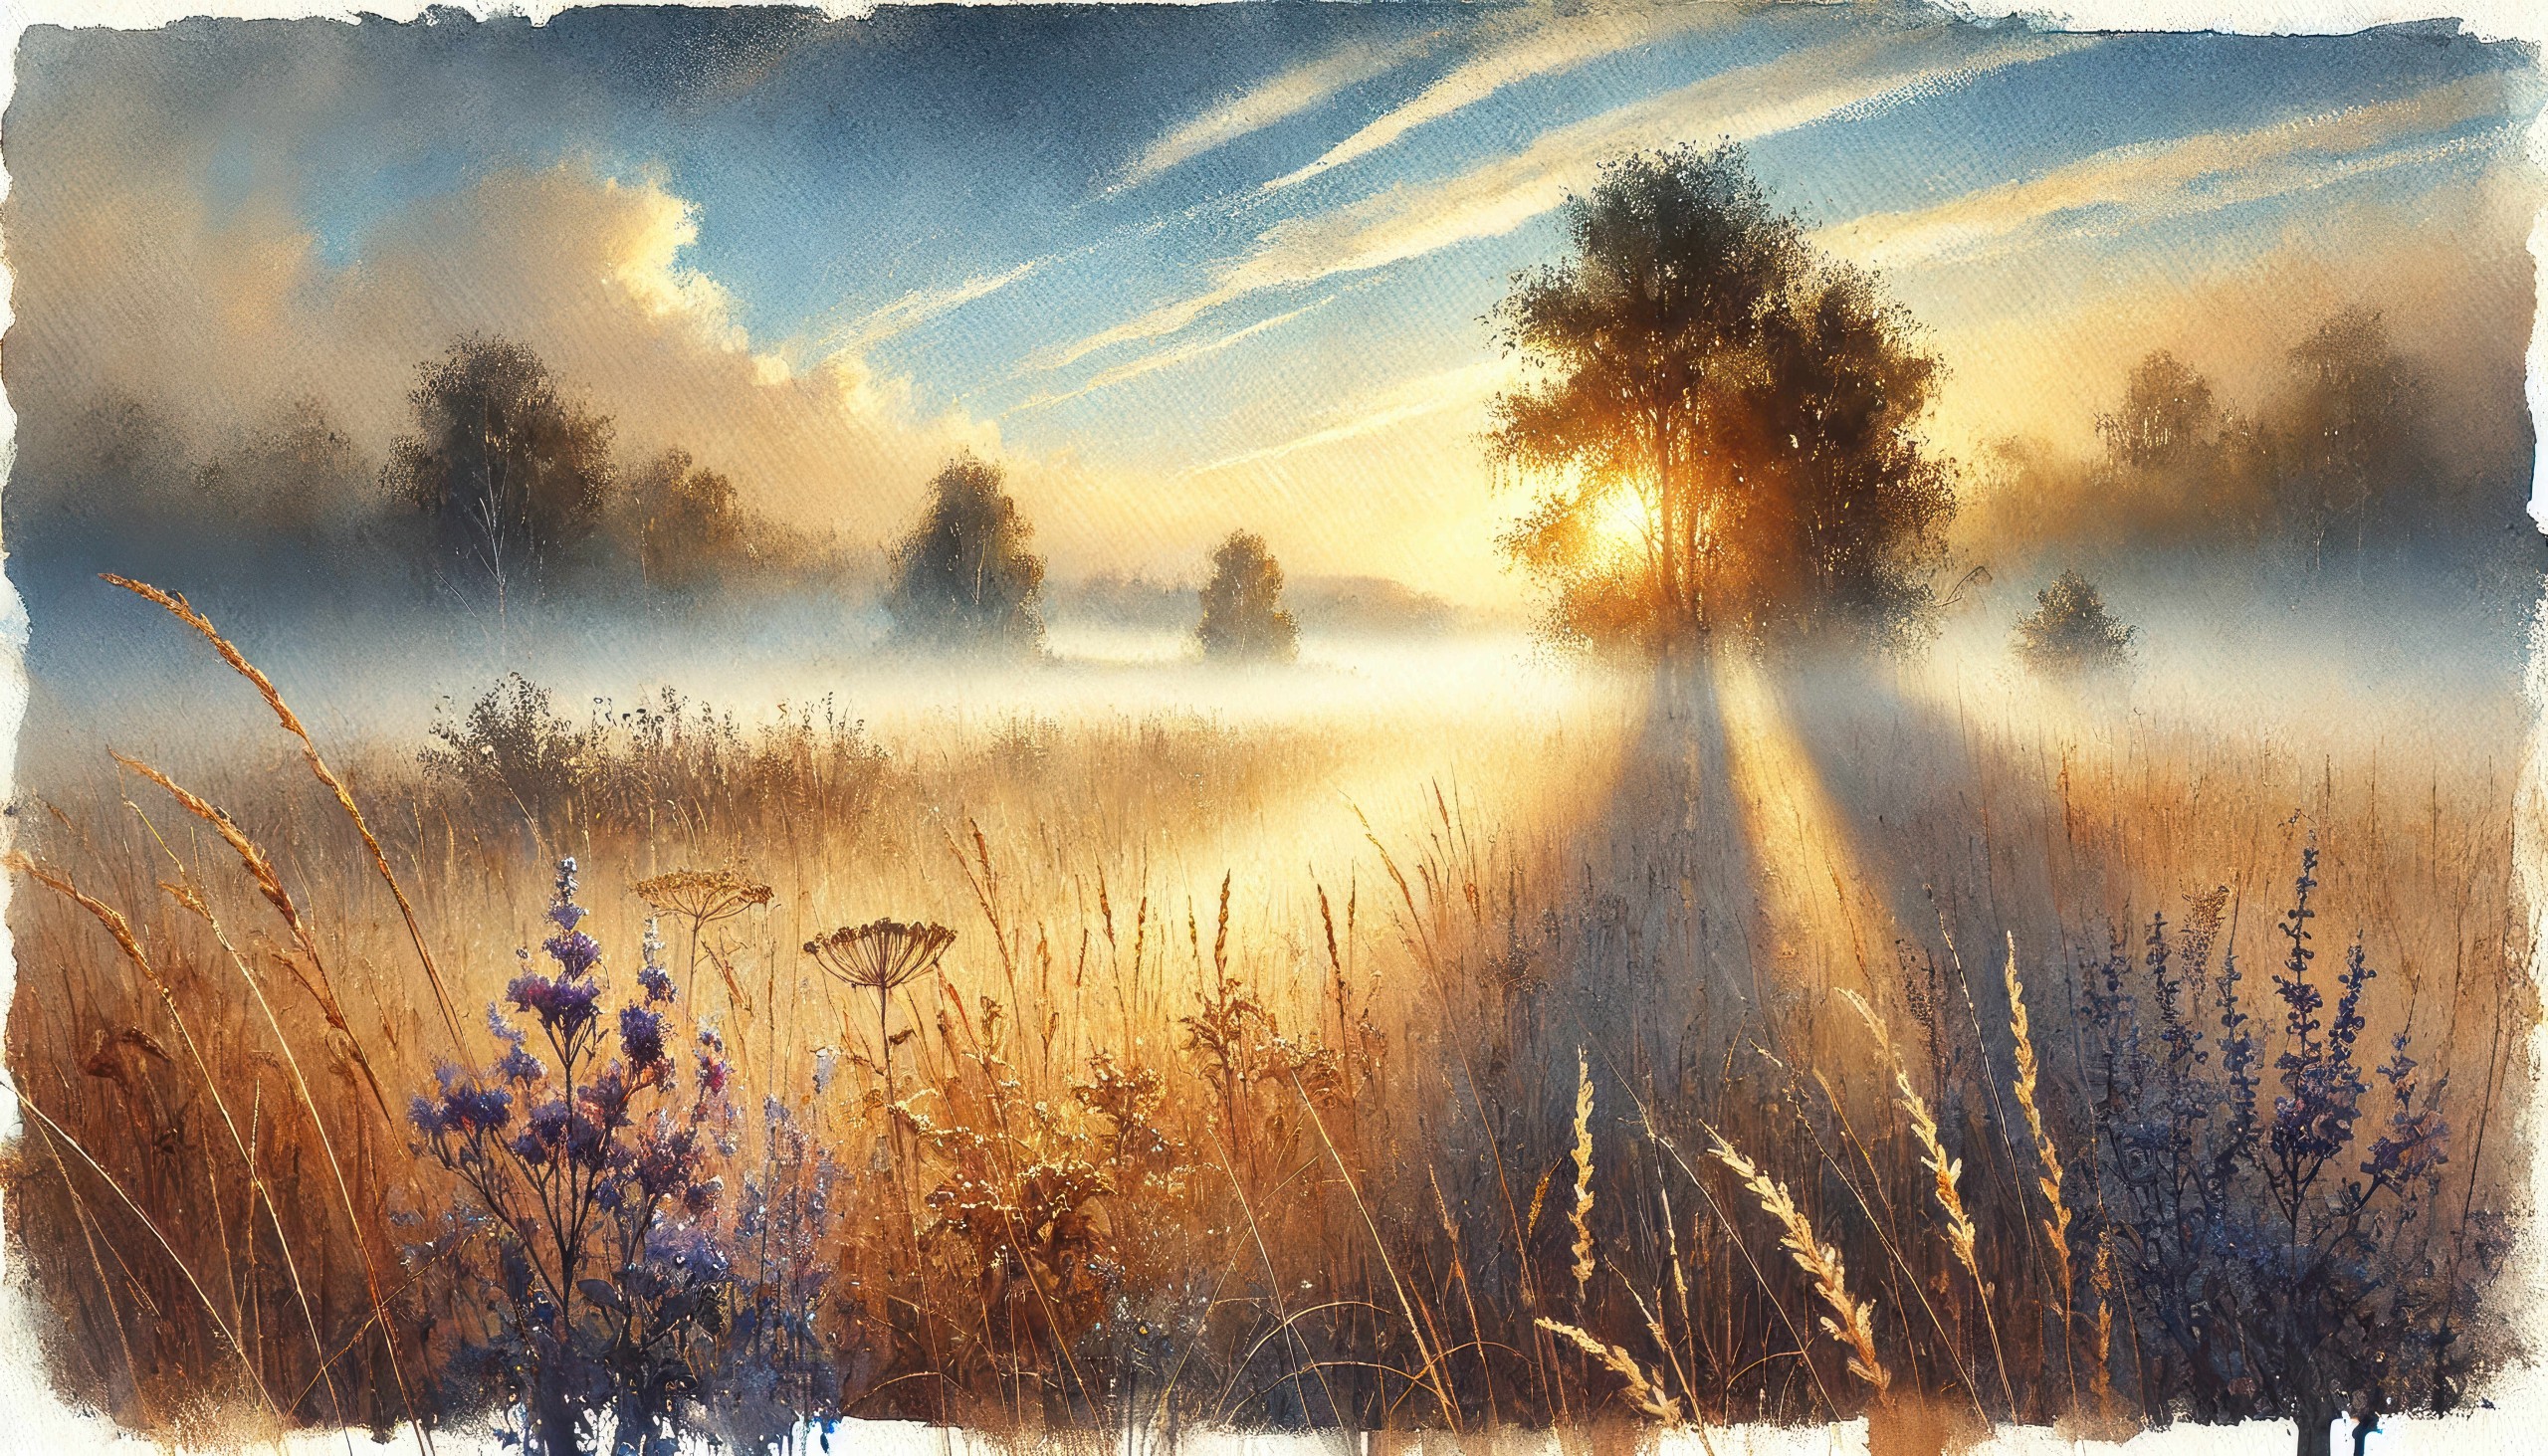
“Light Through the Haze” by Harrison Lamoureux
🔶 4. Layer in the Landscape (From Light to Dark)
Now build your land and focal elements:
-
Use light washes first: yellows, ochres, soft browns for sand or grass.
-
Gradually add darker values to trees, rocks, and foreground, layering when the base is dry.
-
Paint negatively around lighter grasses or wildflowers to let them stand out.
💡 Work in layers. Allow each wash to dry before adding depth or detail.
🔶 5. Use Soft Edges to Suggest Atmosphere
To create mist, fog, or early light, soften the edges where light meets form:
-
Blend edges using a damp, clean brush to lift and soften
-
Reapply subtle tones into wet areas for atmospheric haze
💡 This is especially effective in the fields and trees in “Light Through the Haze.”
🔶 6. Create Light Beams (Optional but Magical!)
If you want to paint sun rays:
-
Wet the area first lightly.
-
Use a flat brush or a dry brush to pull pigment outward in soft radial lines from the light source.
-
Keep the strokes light, transparent, and angled.
-
Lift some areas if needed to make beams more pronounced.
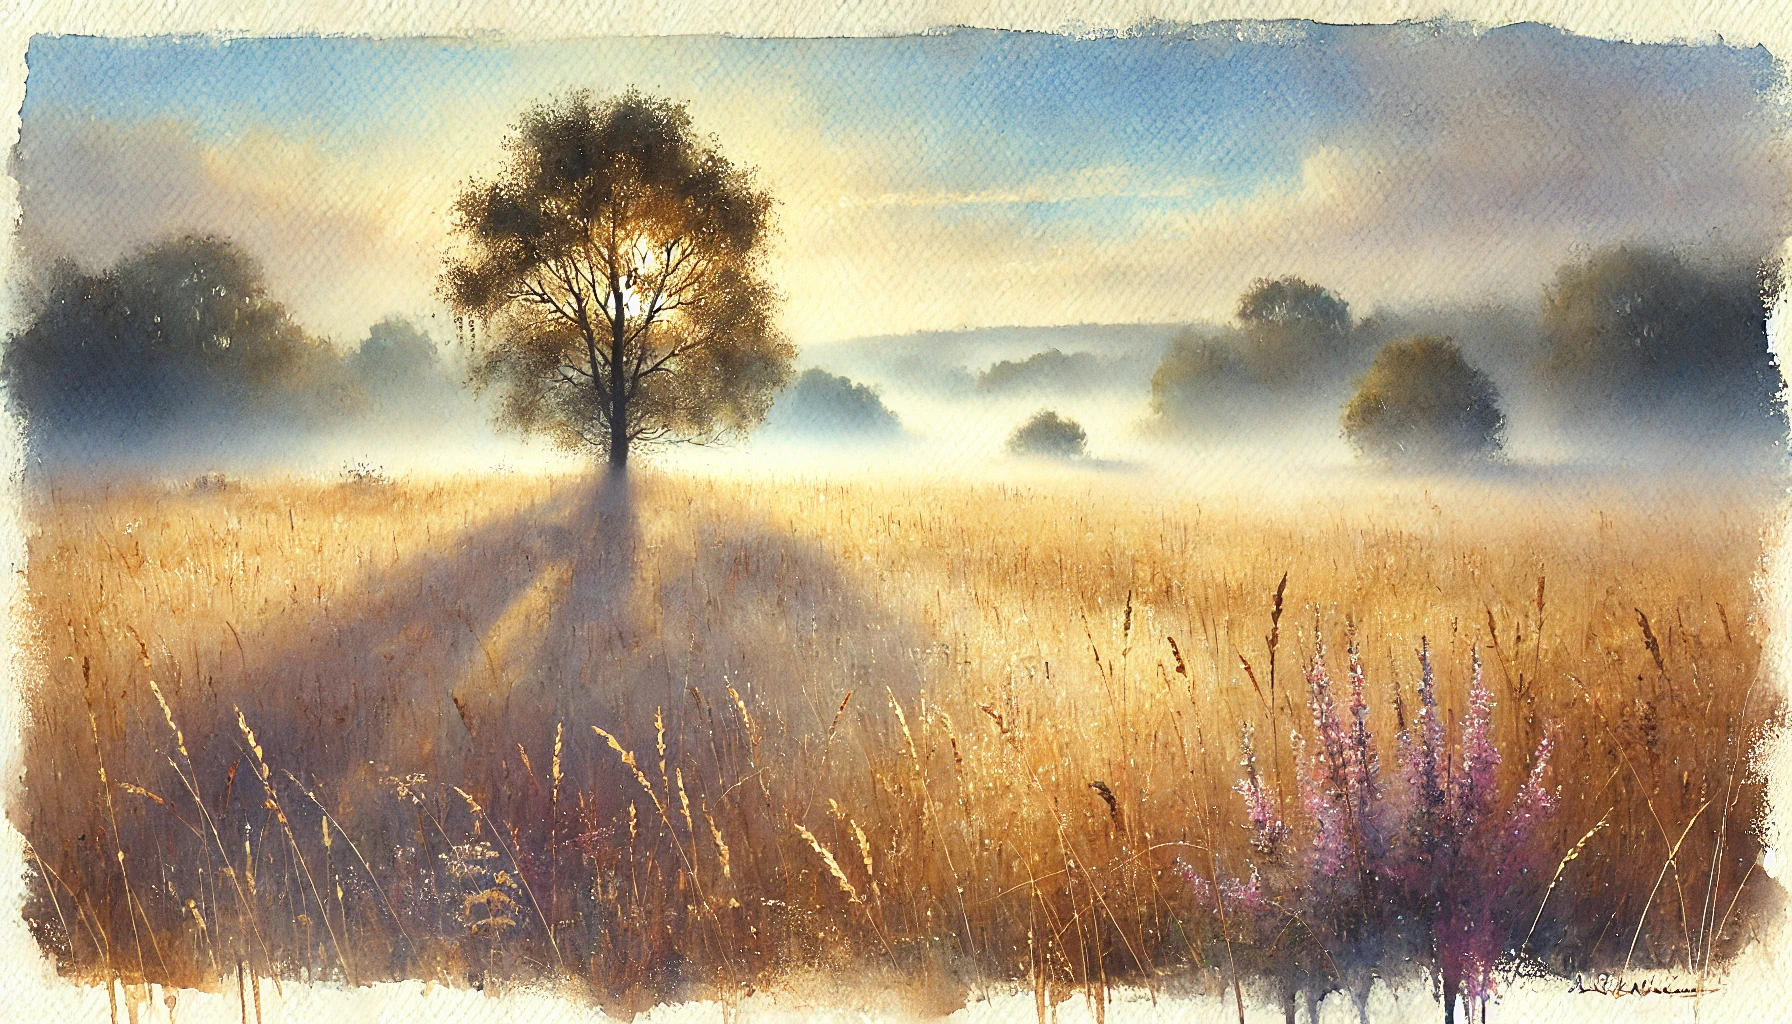
“Stillness at First Light” by Harrison Lamoureux
🔶 7. Reflections and Water Glow
In seascapes like “Echoes of Dawn”:
-
Use horizontal strokes to reflect the sky’s color on water.
-
For sun reflections, leave streaks of white paper and blend gently into golden or peach tones.
-
Add shadows or ripples using ultramarine or a soft neutral in the later layers.
💡 Keep the middle of the water lighter and edges darker for depth.
🔶 8. Final Details: Shadows & Silhouettes
Once the background and glow are dry:
-
Add darker tree lines, rocks, or grasses using a rigger or liner brush.
-
Use dry brush texture on rocks and moss for realism.
-
Keep shadows soft-edged and warm-tinted near the light source, and cool and sharp in the foreground.
🎨 Materials You’ll Need:
-
Cold-pressed or rough watercolor paper (300gsm recommended)
-
Quality watercolor paints (transparent pigments like Quinacridone Gold, Cobalt Blue, Alizarin Crimson)
-
Flat and round brushes, including a mop and rigger
-
Masking fluid or frisket (optional)
-
Spray bottle, sponge or tissue (for lifting and blending)
-
Pencil & kneaded eraser (for light sketching)
🧡 Final Advice:
-
Practice painting light, not objects. Think about how light behaves across the scene.
-
Use contrast: the glow looks brighter next to soft darks.
-
Don’t overwork—watercolor thrives on flow and spontaneity.
-
Study reference photos and real sunrise/sunset scenes to understand gradients and transitions.
💥 Want to learn more?
Find out more:
👉 Launch Pad + Accelerator Expressions of Interest
👉 Selling and Licensing Your Art & Designs Around the World with ArtSHINE
We’re here to help you take action—just like we’ve helped thousands of entrepreneurs, business owners, and creative professionals around the globe.
✨ Want regular inspiration, mindset tips, and art licensing opportunities sent straight to your inbox?
Sign up for the ArtSHINE Weekly Newsletter and stay connected to a creative community that’s growing, thriving, and shining together.
Now is the time to let your passion SHINE.
Now is the time to Make Tomorrow Today!
To your success,
Vinh Van Lam & Stuart Horrex
Cofounders, ArtSHINE.com

